Mold Structure and Process Know-How: Key Techniques from Design to Assembly
October 11, 2026
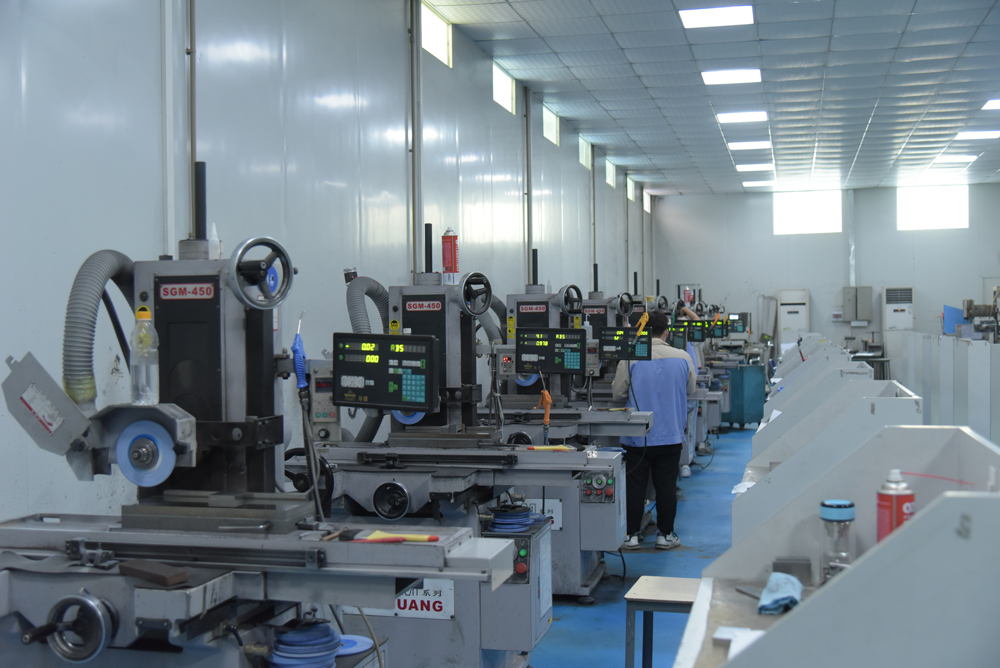
Mold design is not just about drawing a pretty 3D model. The real decisions happen around parting line selection and runner balance. Take a two-plate mold: the parting line is usually placed at the largest contour of the product to ensure smooth ejection. Gate location directly affects filling behavior. For ABS, a side gate with a diameter of 0.8–1.2 mm is common. Go too small and you risk shear overheating; go too large and you waste material while adding cooling time. These numbers come from trial runs, not just textbooks. In our shop, we also check gate land length—typically 0.5–1.0 mm—because it influences the freeze-off point and cycle consistency.
Cooling channel layout is another make-or-break detail. The distance from the waterway to the cavity surface is generally kept between 15–25 mm. Too close, and you risk stress cracks or even water leakage under high pressure. Too far, and cooling efficiency drops, extending cycle time and causing warpage. For large flat parts, we often use baffles or bubblers to reach hot spots. In one ABS housing mold, moving the cooling lines from 30 mm to 20 mm cut cycle time by 18% and eliminated sink marks. That is the kind of gain you only get by listening to the mold and adjusting on the bench.
Assembly and spotting matter just as much. A well-designed mold can still fail if the shut-off surfaces are not spotted properly. We use blueing checks on every parting surface and slide, then hand-scrape until contact is uniform. Ejector plates must move freely without binding—0.02–0.05 mm clearance per side is typical. These are not glamorous tasks, but they decide whether the mold runs 10,000 shots or 100,000. For more mold sourcing and technical insights, visit MoldWorld at www.moldw.com.