Injection Molding Process Breakdown: Practical Machine-Setting Points from Injection Speed to Cooling Time
October 11, 2026
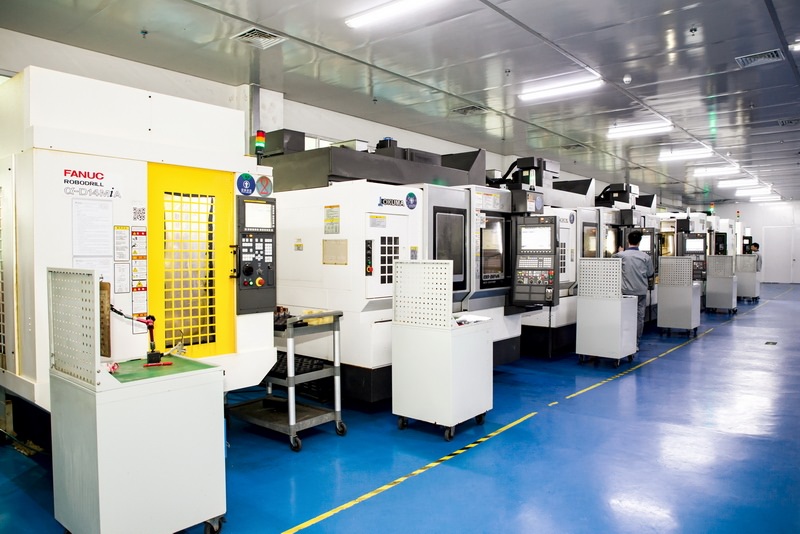
When we talk about injection molding on the mold floor, the first thing that matters is not the machine brand but the process window. Injection speed is the starting point: too slow, and you get short shots or weld lines; too fast, and you risk jetting, burn marks, or flash. In practice, I usually set the first stage at 30–50% of maximum speed to fill the runner and gate smoothly, then switch to a higher second stage for the cavity. The switch point—often by screw position or cavity pressure—must be repeatable. If the mold has a hot runner, we also check manifold balance; a 10°C difference across drops can shift filling by 5–8%, which shows up as dimensional variation.
Packing pressure and time are where most defects are born. Holding pressure should be 50–70% of injection pressure, with time set until the gate freezes—typically 2–4 seconds for small parts, longer for thick walls. Too little packing gives sink marks; too much creates high internal stress and warpage. Cooling time is the biggest lever on cycle time: it often accounts for 50–70% of the total cycle. A good rule is to cool until the part’s ejection temperature is uniform, not just “cold enough.” For a 2 mm wall in ABS, that’s usually 8–12 seconds with 40–60°C mold temperature. Add conformal cooling or baffles in cores, and you can cut 15–20% off cooling without changing the material.
Tooling details matter as much as the machine settings. Gate size, runner layout, and venting depth (0.02–0.03 mm for most resins) directly affect how the process window behaves. If you fight flash at normal speeds, check the parting line and vent depth before you blame the press. Keep a log of screw position, peak pressure, and cooling time for every mold—that data is your real setup sheet. For more mold sourcing and technical resources, visit MoldWorld at www.moldw.com.