Injection Molding from the Mold Up: Structure First, Parameters Second
October 09, 2026
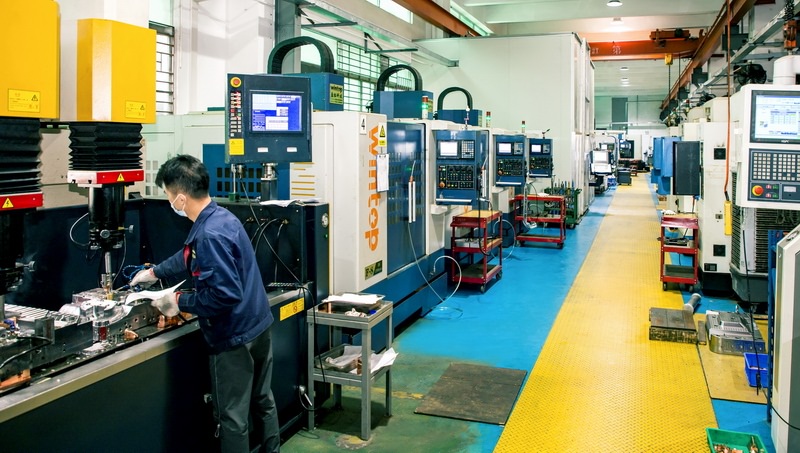
In injection molding, knowing how to adjust the machine is not enough—you have to read the mold first, then match parameters to it. Otherwise you will chase short shots, flash, ejector whitening, and cracks one after another. Start with the four basic mold structures: two-plate (standard), three-plate (runner stripping), hot runner, and stack mold. Each dictates gate location, runner balance, and ejection strategy. A two-plate mold with a cold runner may need higher injection pressure to fill thin walls, while a hot runner system reduces regrind but demands precise temperature control to avoid drooling. For mold sourcing, always confirm steel grade (e.g., P20, 718H, S136), core-cavity layout, and cooling channel design—poor cooling alone can add 15–20% to cycle time.
Once the mold is mounted, follow a ten-step parameter tuning sequence: 1) set barrel temperatures per resin data sheet; 2) adjust injection speed to fill 95% of the part; 3) switch to hold pressure and optimize hold time; 4) set cooling time based on wall thickness (rule of thumb: 1 second per 0.1 mm); 5) tune screw recovery speed; 6) set back pressure low initially; 7) adjust mold temperature; 8) fine-tune clamp force to vent but not flash; 9) optimize ejection speed and stroke; 10) inspect part weight and dimensions. For example, a 2 mm thick ABS part typically needs 20–25 seconds cooling. Skipping steps leads to flash from excessive clamp force or short shots from insufficient injection speed.
Real-world mold defects often trace back to structure-parameter mismatch. A three-plate mold with a pin-point gate may need slower injection to avoid gate blush. A stack mold doubles output but requires synchronized ejection and balanced melt flow. Always log your settings per mold and resin batch—this builds a tuning database for future jobs. For more mold sourcing and technical guides, visit MoldWorld at www.moldw.com.