Injection Molding: From Parameter Setup to Shop-Floor Adjustments
October 07, 2026
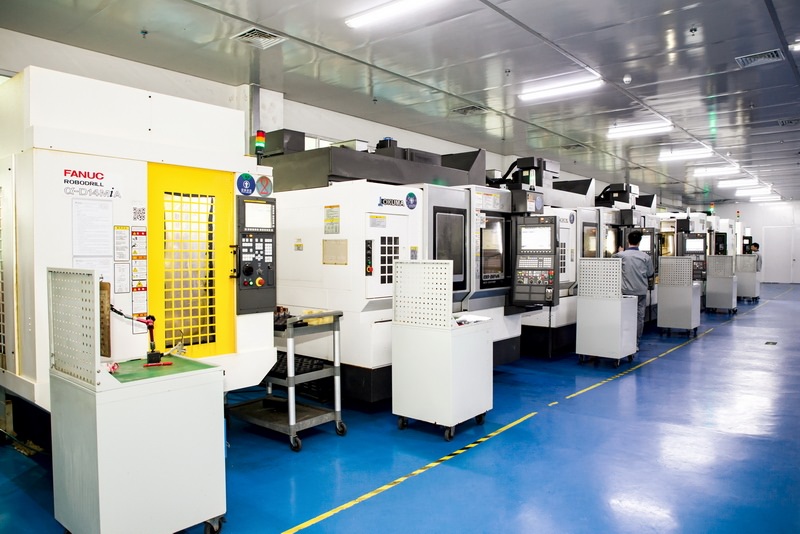
Injection molding looks straightforward until you're the one standing at the machine at 2 a.m. watching short shots creep back in. From a mold engineer's perspective, the process splits into four control zones: melt preparation, filling, packing/holding, and cooling. Each has its own knobs, and they interact. Barrel temperatures typically run 200–280°C depending on resin; too cold and you get incomplete fill, too hot and you invite degradation and silver streaks. Injection speed profiles matter more than most operators admit — a slow first stage followed by a fast fill often prevents jetting and weld-line weakness. Switchover from velocity to pressure should happen by 95–98% fill, not by screw position alone, if you want repeatability across shifts.
Packing pressure and time are where most dimensional problems are born. A common starting point is 50–60% of injection pressure, then tune holding time until gate freeze is confirmed by part weight stability — weigh ten shots, and if the spread exceeds 0.5%, you're not frozen yet. Cooling takes 50–70% of the cycle, so mold temperature control units aren't a luxury; they're the difference between a 22-second cycle and a 30-second one. On the tooling side, make sure your cooling channels are actually baffled or bubbled where cores run hot, and check that vents at the last-fill locations are deep enough — 0.02–0.03 mm for most commodity resins — or you'll chase burn marks forever.
None of this works if the mold itself is fighting you. Parting-line flash, unbalanced runner systems, and worn check rings will undo perfect parameters every time. Keep a setup sheet per mold, log every change, and treat the process window as a living document rather than a one-time gift from the toolroom. For more mold sourcing and technical resources, visit MoldWorld at www.moldw.com.