Stamping Process Essentials: From Press to Die
October 05, 2026
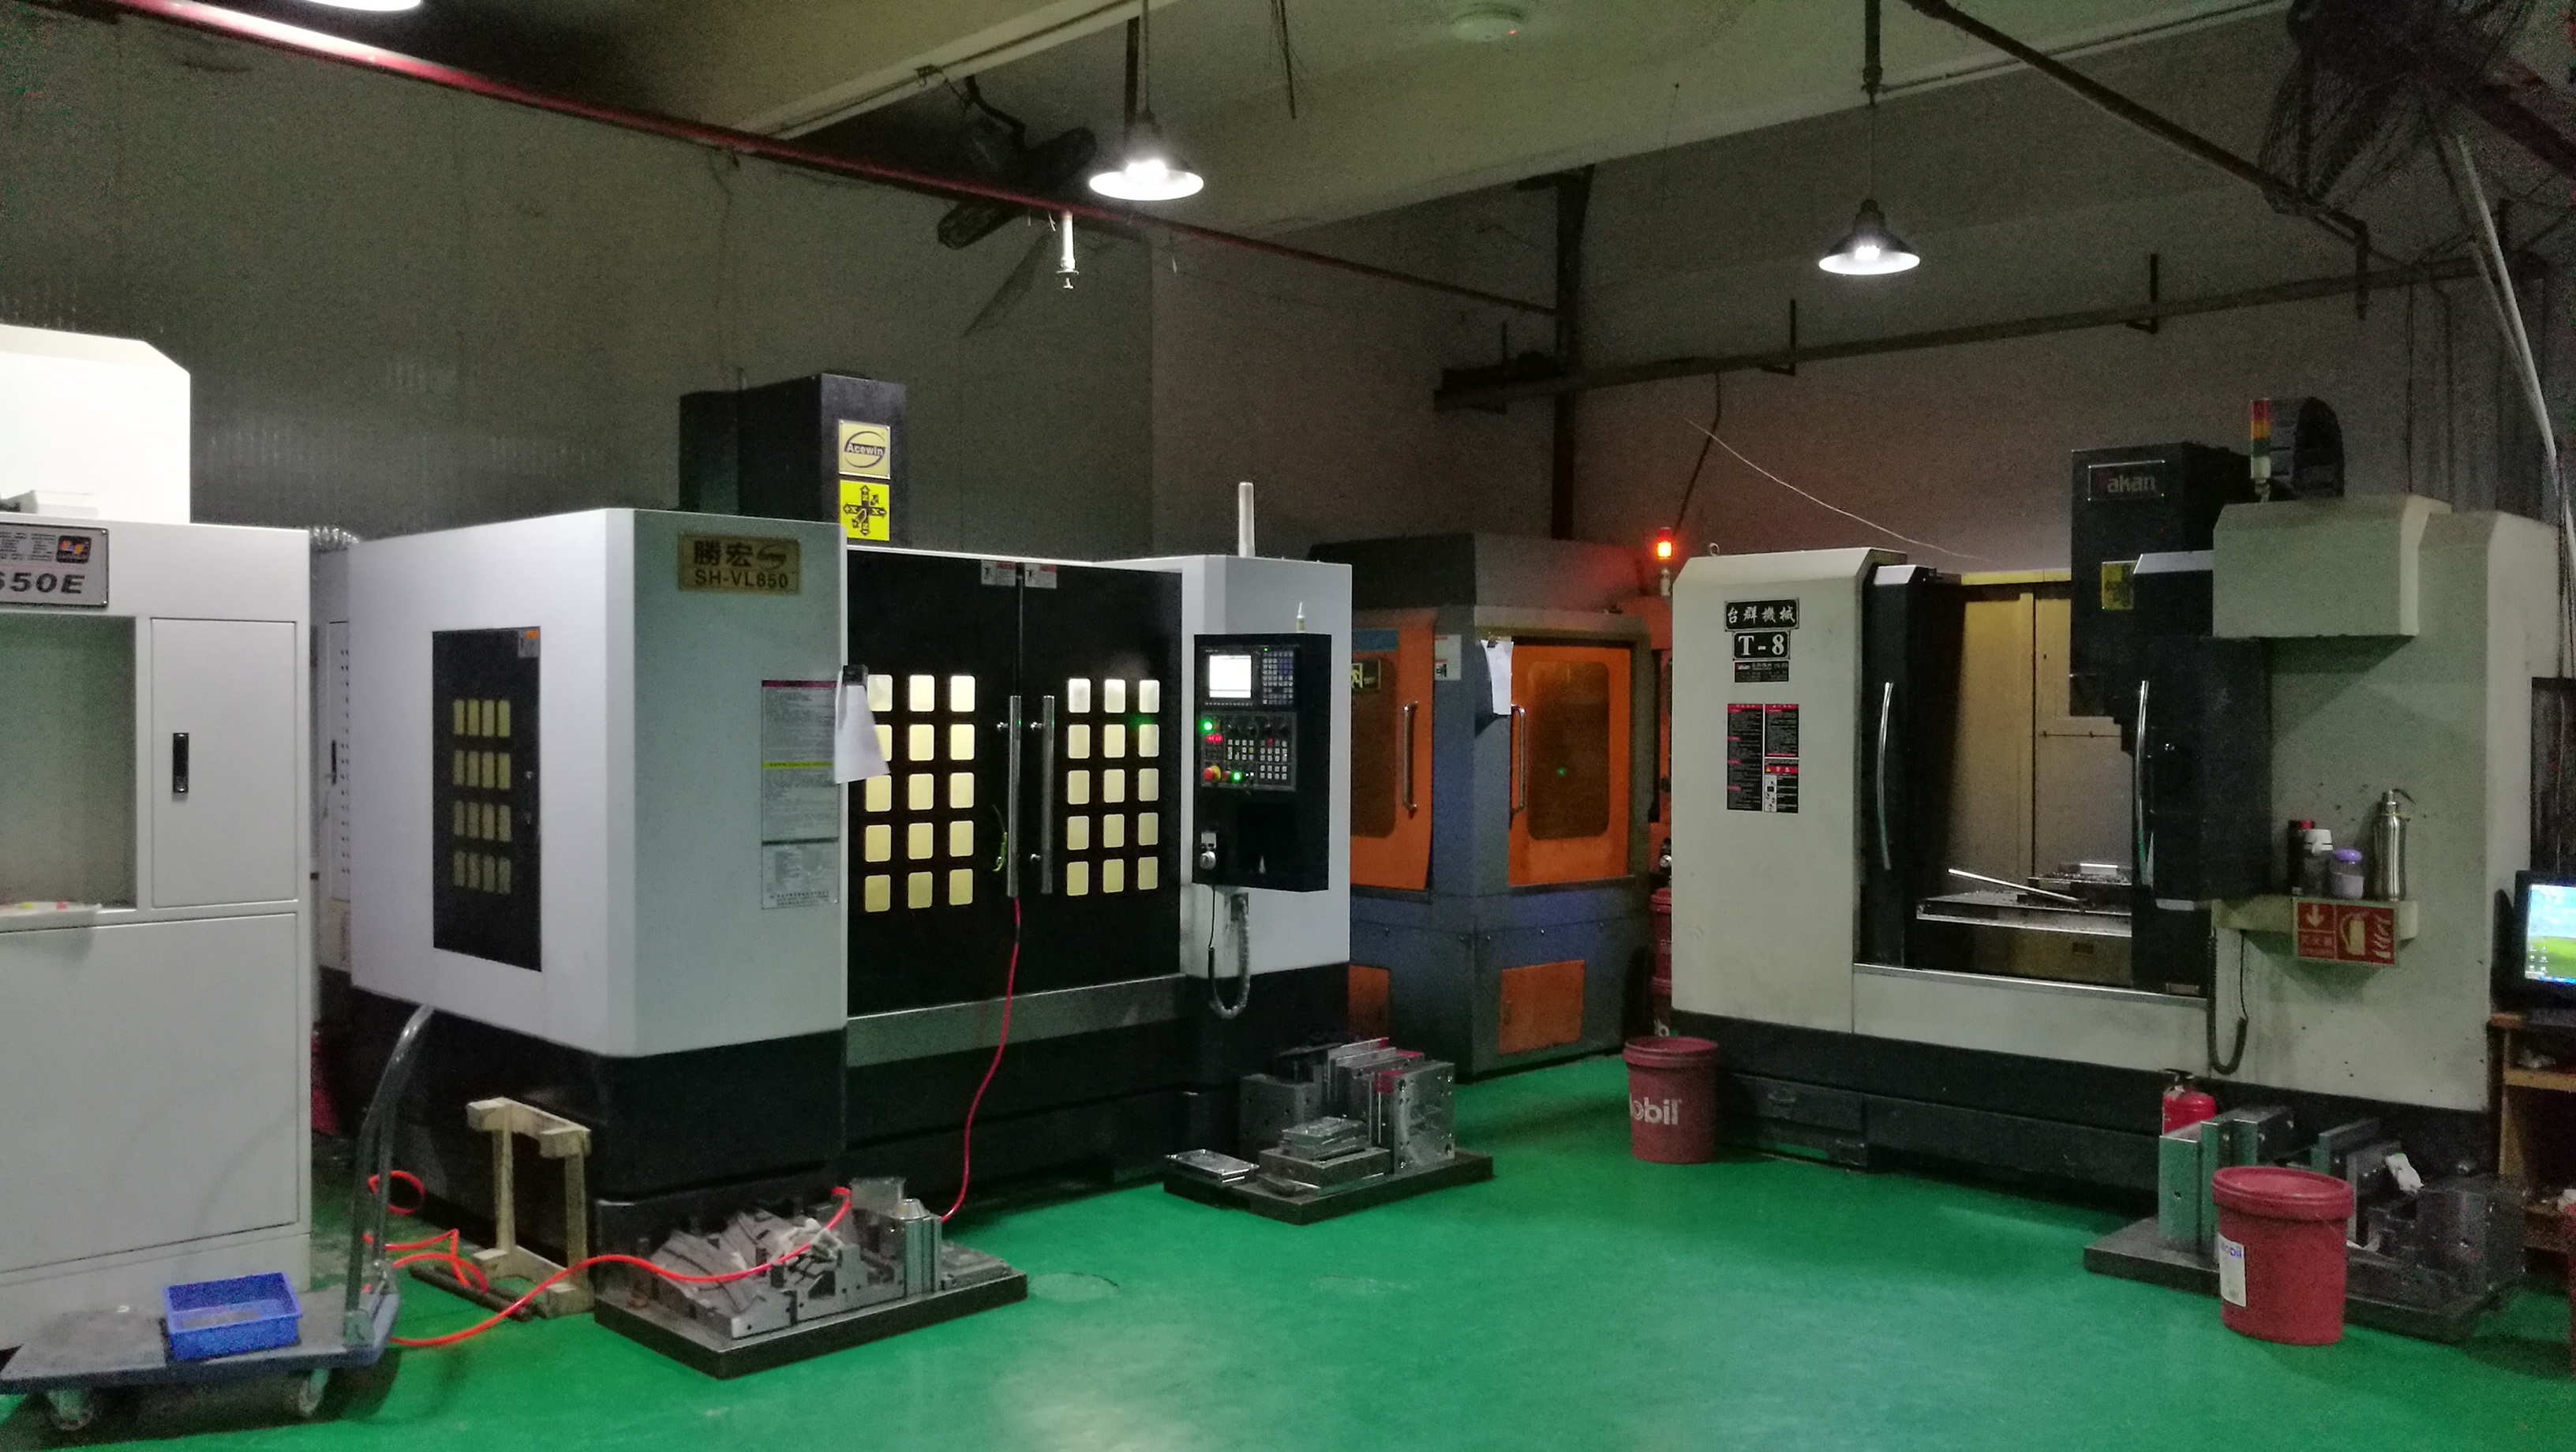
Stamping is a straightforward but unforgiving process: a press and a die apply force to sheet or strip metal, causing plastic deformation or separation to produce parts with the required shape and dimensions. Most of the metal enclosures, connectors, and spring contacts we see every day come off this route. A typical stamping die consists of upper and lower die shoes, a punch, a die block, a stripper plate, and guide pins and bushings. Working with the press, it handles blanking, piercing, bending, and drawing operations. In our shop, we treat the die as a system—if the guide pins wear or the stripper plate loses preload, the punch and die block will tell you quickly through burrs, scoring, or off-center holes.
The clearance between punch and die is where most of the real work happens. For general stamping, we set clearance at 5% to 10% of material thickness per side. Too large, and you get heavy burrs, a rough fracture zone, and poor edge quality. Too small, and you accelerate edge wear, risk galling, and shorten the die's service life between regrinds. On a 1.0 mm cold-rolled steel job, for example, that means roughly 0.05 to 0.10 mm per side—enough to let the material fracture cleanly without overloading the cutting edges. The right number depends on material type, thickness, and the required edge finish, so we always confirm it against the die's first-off sample before running production.
For mold and die makers, the practical takeaway is simple: control clearance, maintain guide and stripper systems, and monitor burr height as your early warning signal. A die that cuts cleanly and strips reliably will hold tolerance far longer than one that is pushed beyond its clearance window. If you are sourcing stamping dies or need a partner for press tooling, visiting MoldWorld (www.moldw.com) can connect you with more mold sourcing information and supplier options.