Injection Mold Selection and Parameter Tuning: A Practical Guide from the Shop Floor
October 04, 2026
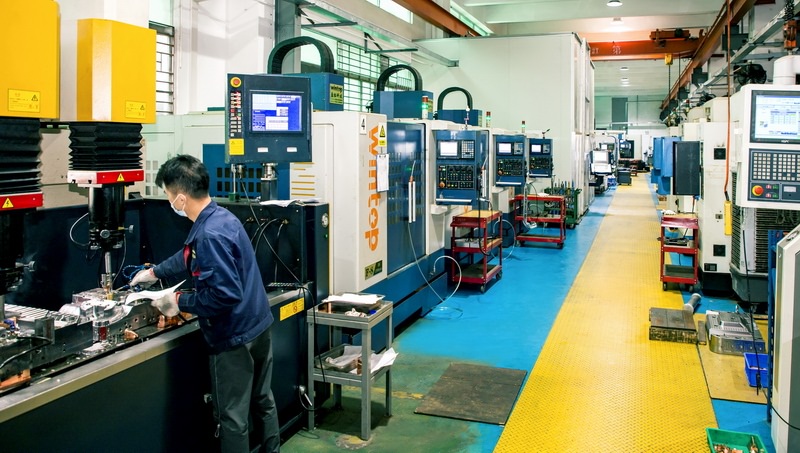
When you pick a mold for an injection molding job, the structure decision drives everything downstream. In practice, four common configurations cover most work: two-plate molds for simple, high-volume parts; three-plate molds when you need a center gate or multi-cavity balance; hot runner systems for engineering resins where sprue waste and cycle time matter; and stack molds when output per floor area is the priority. Each choice affects steel grade, cooling layout, ejection design, and ultimately your quote. A three-plate tool may add 15–20% to mold cost, but it can cut cycle time and scrap enough to pay back within a few hundred thousand shots. That trade-off belongs in the quotation, not in a post-mortem.
Once the mold is on the press, parameter tuning follows a logical sequence: confirm clamp tonnage against projected area, set barrel temperatures by resin datasheet, establish shot size at 95–98% fill, then dial in injection speed, packing pressure, and hold time. Cooling time typically accounts for 60–70% of the cycle, so mold temperature control deserves as much attention as injection pressure. A common mistake is chasing cosmetic defects with pressure when the real issue is a poorly placed gate or insufficient venting. Check the mold first, then the machine.
For mold engineers and sourcing teams, the practical takeaway is simple: document every mold trial with actual parameters, not just “good part” notes. That record becomes the baseline for the next run, the next mold, and the next quotation. If you are comparing mold builders or need injection molding suppliers who understand this level of detail, visit MoldWorld (www.moldw.com) for mold sourcing information and supplier references.