Injection Molding: A Mold Engineer's Guide to Process Control from Drying to Packing
October 02, 2026
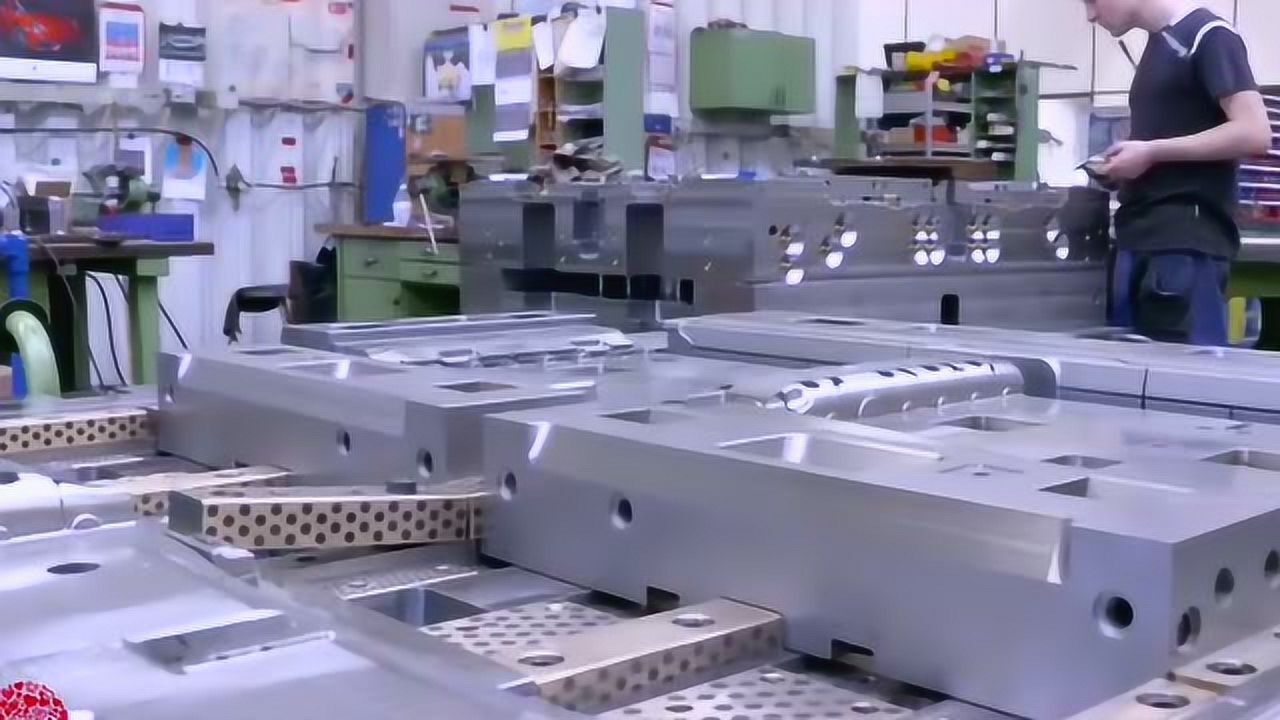
Injection molding looks straightforward—dry the resin, feed it, melt it, inject it, pack it, cool it, eject it. But from a mold engineer's perspective, every stage has variables that directly affect yield. Take drying: hygroscopic materials like PC, PA, and ABS require specific dew-point and temperature settings. PC typically needs 120°C for 3–4 hours; skip this and you get silver streaks and hydrolytic degradation that no mold adjustment can fix. Feeding comes next—material consistency matters, especially when using regrind. A regrind ratio above 20–30% often shifts melt viscosity enough to throw off cavity balance in multi-cavity tools.
The injection and packing phases are where mold design and process settings meet. Fill speed, transfer position, and packing pressure must match the gate freeze-off time. In a typical 2-plate mold with a cold runner, packing pressure might hold at 60–80% of injection pressure for 3–8 seconds, depending on wall thickness. Too little packing and you get sink marks; too much and you induce excessive residual stress, leading to warpage after ejection. Cooling time usually accounts for 50–70% of the total cycle—optimizing conformal cooling channels or bubblers in cores can cut that significantly, but only if the mold steel and waterline layout support it.
Finally, ejection and part handling are not afterthoughts. Ejector pin placement, draft angles (typically 1–2° on vertical walls), and mold surface finish all influence whether a part releases cleanly or sticks and deforms. The best mold engineers don't just design steel—they design a process window. If you're sourcing molds or need technical guidance on tooling for injection molding, visit MoldWorld at www.moldw.com for more mold sourcing information and practical resources.