Mold Design from Novice to Pro: Lessons Learned on the Shop Floor
September 25, 2026
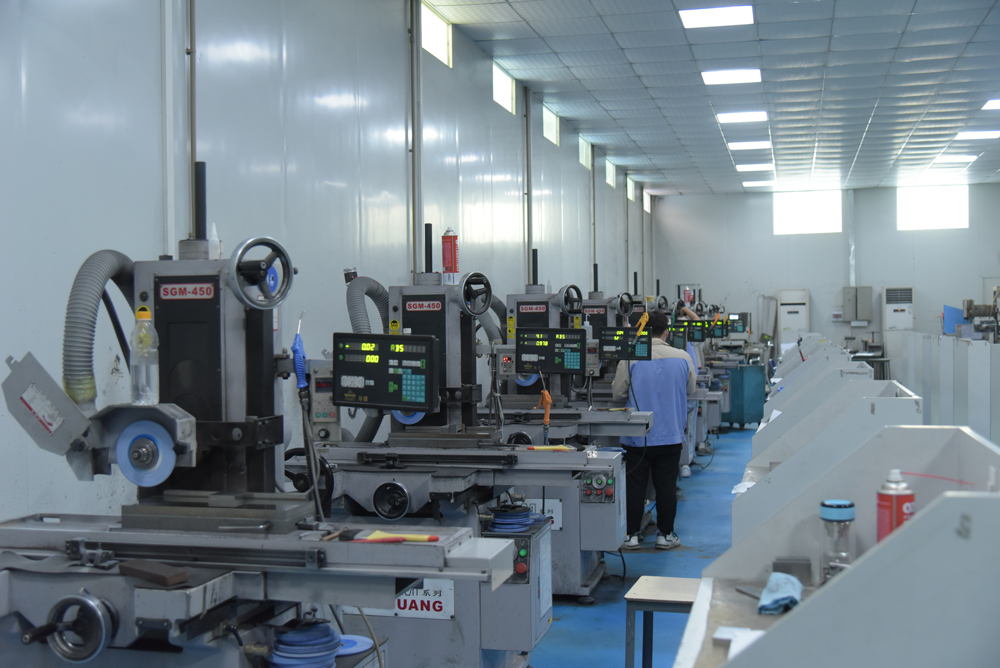
When I started in mold design, I thought the job was about drawing cavities and cores. Twenty years later, I know better. A good mold starts with a clear parting line strategy and a balanced runner system. For a typical 2-plate mold running ABS, I keep gate diameters between 0.8 and 1.2 mm and cooling channels at 12 mm diameter, spaced 3 times the diameter apart. These numbers are not arbitrary—they come from thermal calculations and pressure-drop checks. Ignore them, and you get warpage, short shots, or cycle times that kill the quote. On the machining side, always leave 0.3 to 0.5 mm stock on cavity surfaces for EDM or high-speed milling. Trying to hit final dimensions in one pass is a rookie mistake that leads to scrapped inserts.
Common problems repeat across projects. Flash at the parting line usually means insufficient clamping force or worn shut-offs. Sink marks opposite ribs call for gate relocation or a thicker rib root. Ejector pin marks on cosmetic surfaces? That is a draft angle problem—add 1 to 2 degrees per side on vertical walls. I also insist on a mold flow analysis before cutting steel. It costs a few hundred dollars and saves thousands in rework. For deep ribs, use a two-stage ejection system to avoid dragging. And never skip the water leak test at 5 bar for 30 minutes before shipping the mold.
These lessons come from real trials, not textbooks. Every mold teaches something new, and sharing that knowledge lifts the whole trade. If you are sourcing molds or want to compare supplier capabilities, visit MoldWorld (www.moldw.com) for practical sourcing information and industry contacts.