Injection Molding: From Parameter Setup to Defect Control
September 24, 2026
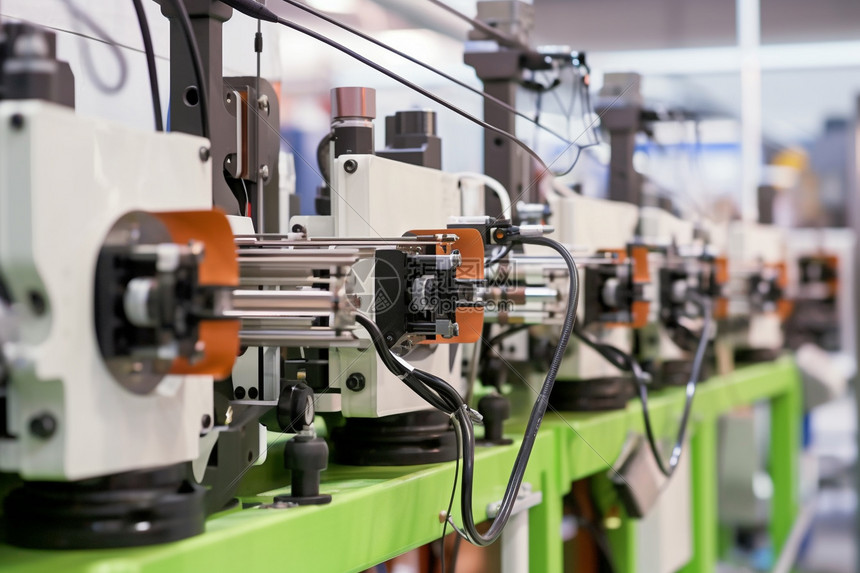
Injection molding looks straightforward until you're staring at a batch of short shots or warped parts. The process starts long before the screw pushes forward. Mold design sets the foundation: gate location, cooling channel layout, and ejection strategy all determine how forgiving your process window will be. A balanced runner system and proper venting can mean the difference between a 2% scrap rate and a 15% one. Once the mold is mounted, the first thing I check is the temperature profile—barrel zones, hot runner controllers, and mold coolant lines. For ABS, I typically run the barrel at 230–250°C and mold at 60–80°C. For PP, lower mold temps around 30–50°C work fine, but you'll fight shrinkage if you don't compensate with packing pressure.
Parameter setup is where experience pays off. Injection speed, holding pressure, and cooling time interact in ways that simulation only partially predicts. A common mistake is setting holding pressure too low—you get sink marks and dimensional drift. Too high, and you risk flash or overpacking near the gate. I usually start with a fill study: 95% shot size, then switch to hold. Holding pressure typically runs 50–70% of injection pressure, with hold time determined by gate freeze-off. Cooling time should be long enough that ejection doesn't deform the part, but every extra second adds cycle time. For a 2mm wall thickness in PC, I'd expect around 15–20 seconds of cooling. Defects like weld lines, jetting, and silver streaks usually trace back to speed transitions or moisture in the resin—so dry your material properly.
At the end of the day, injection molding rewards discipline. Keep a log of every parameter change, and don't chase one defect into another. If you're sourcing molds or need a second opinion on a tricky part, MoldWorld (www.moldw.com) is a solid resource for mold sourcing and technical references. Sometimes the fastest fix is a conversation with someone who's run the same material before.