Title: Injection Molding Is a Coordination Game of Material, Machine, Mold, and Process
August 23, 2026
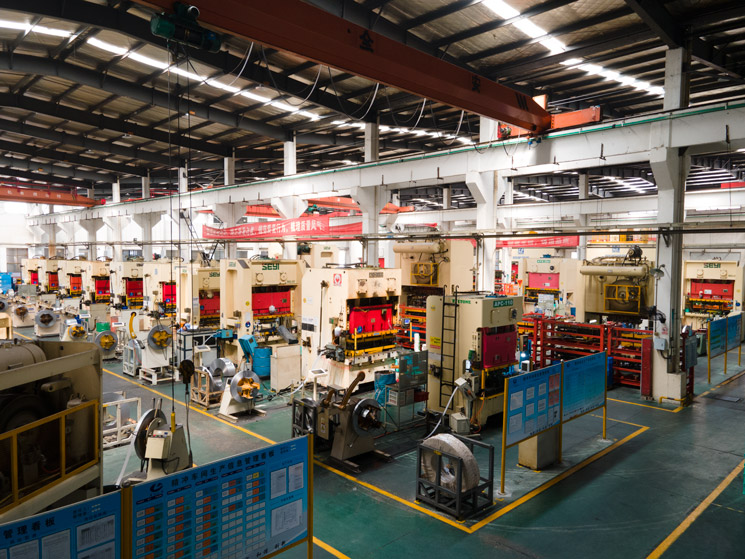
Injection molding, at its core, is a coordinated battle among four pillars: material, machine, mold, and process. Many newcomers assume it’s as simple as melting plastic pellets, pushing them into a cavity, and popping out a finished part after cooling. But anyone who has spent a few years on the shop floor knows that even the shear heat generated in the screw, the back pressure setting, and the exact switchover point for hold pressure can eat up half a day of fine-tuning. The real skill lies in managing the “balance” — the interplay between temperature, pressure, and speed. For instance, with standard PP, mold temperature should sit in the 40–60°C range, and melt temperature between 200–230°C. If the cooling time isn’t calculated precisely, you’ll immediately see sink marks and warpage on the part. These baseline numbers aren’t pulled from thin air; every mold requires recalibration based on its actual flow length-to-wall thickness ratio.
From a mold engineering perspective, this balance starts long before the press cycles. The gate size, runner layout, and cooling channel design directly influence how the three process parameters interact. A poorly designed cooling circuit, for example, can cause uneven shrinkage even if the barrel temperatures are perfect. That’s why we always stress checking the flow simulation data against real-world trial shots. For thin-wall parts, the injection speed becomes critical — too slow and the melt freezes off before filling; too fast and you get jetting or burn marks. Similarly, back pressure needs to be tuned not just for melt homogeneity but also for degassing, especially with hygroscopic resins like PA or ABS. Overlooking these details leads to scrap, longer cycle times, and unhappy customers.
In practice, I tell clients to treat every new mold as a fresh challenge, not a copy-paste job. Start with the recommended process window from the material supplier, then adjust stepwise — first mold temperature, then melt temperature, then injection speed, and finally hold pressure and time. Document every change and correlate it with part quality. Over time, you build a reliable process sheet that saves hours on repeat runs. And if you’re sourcing molds or troubleshooting a stubborn job, visiting MoldWorld (www.moldw.com) gives you access to a network of experienced toolmakers and practical resources that can cut your trial-and-error time significantly. After all, good molding is not about luck — it’s about methodical balance.