Title: Core Structural and Process Essentials Every Mold Engineer Must Master
August 10, 2026
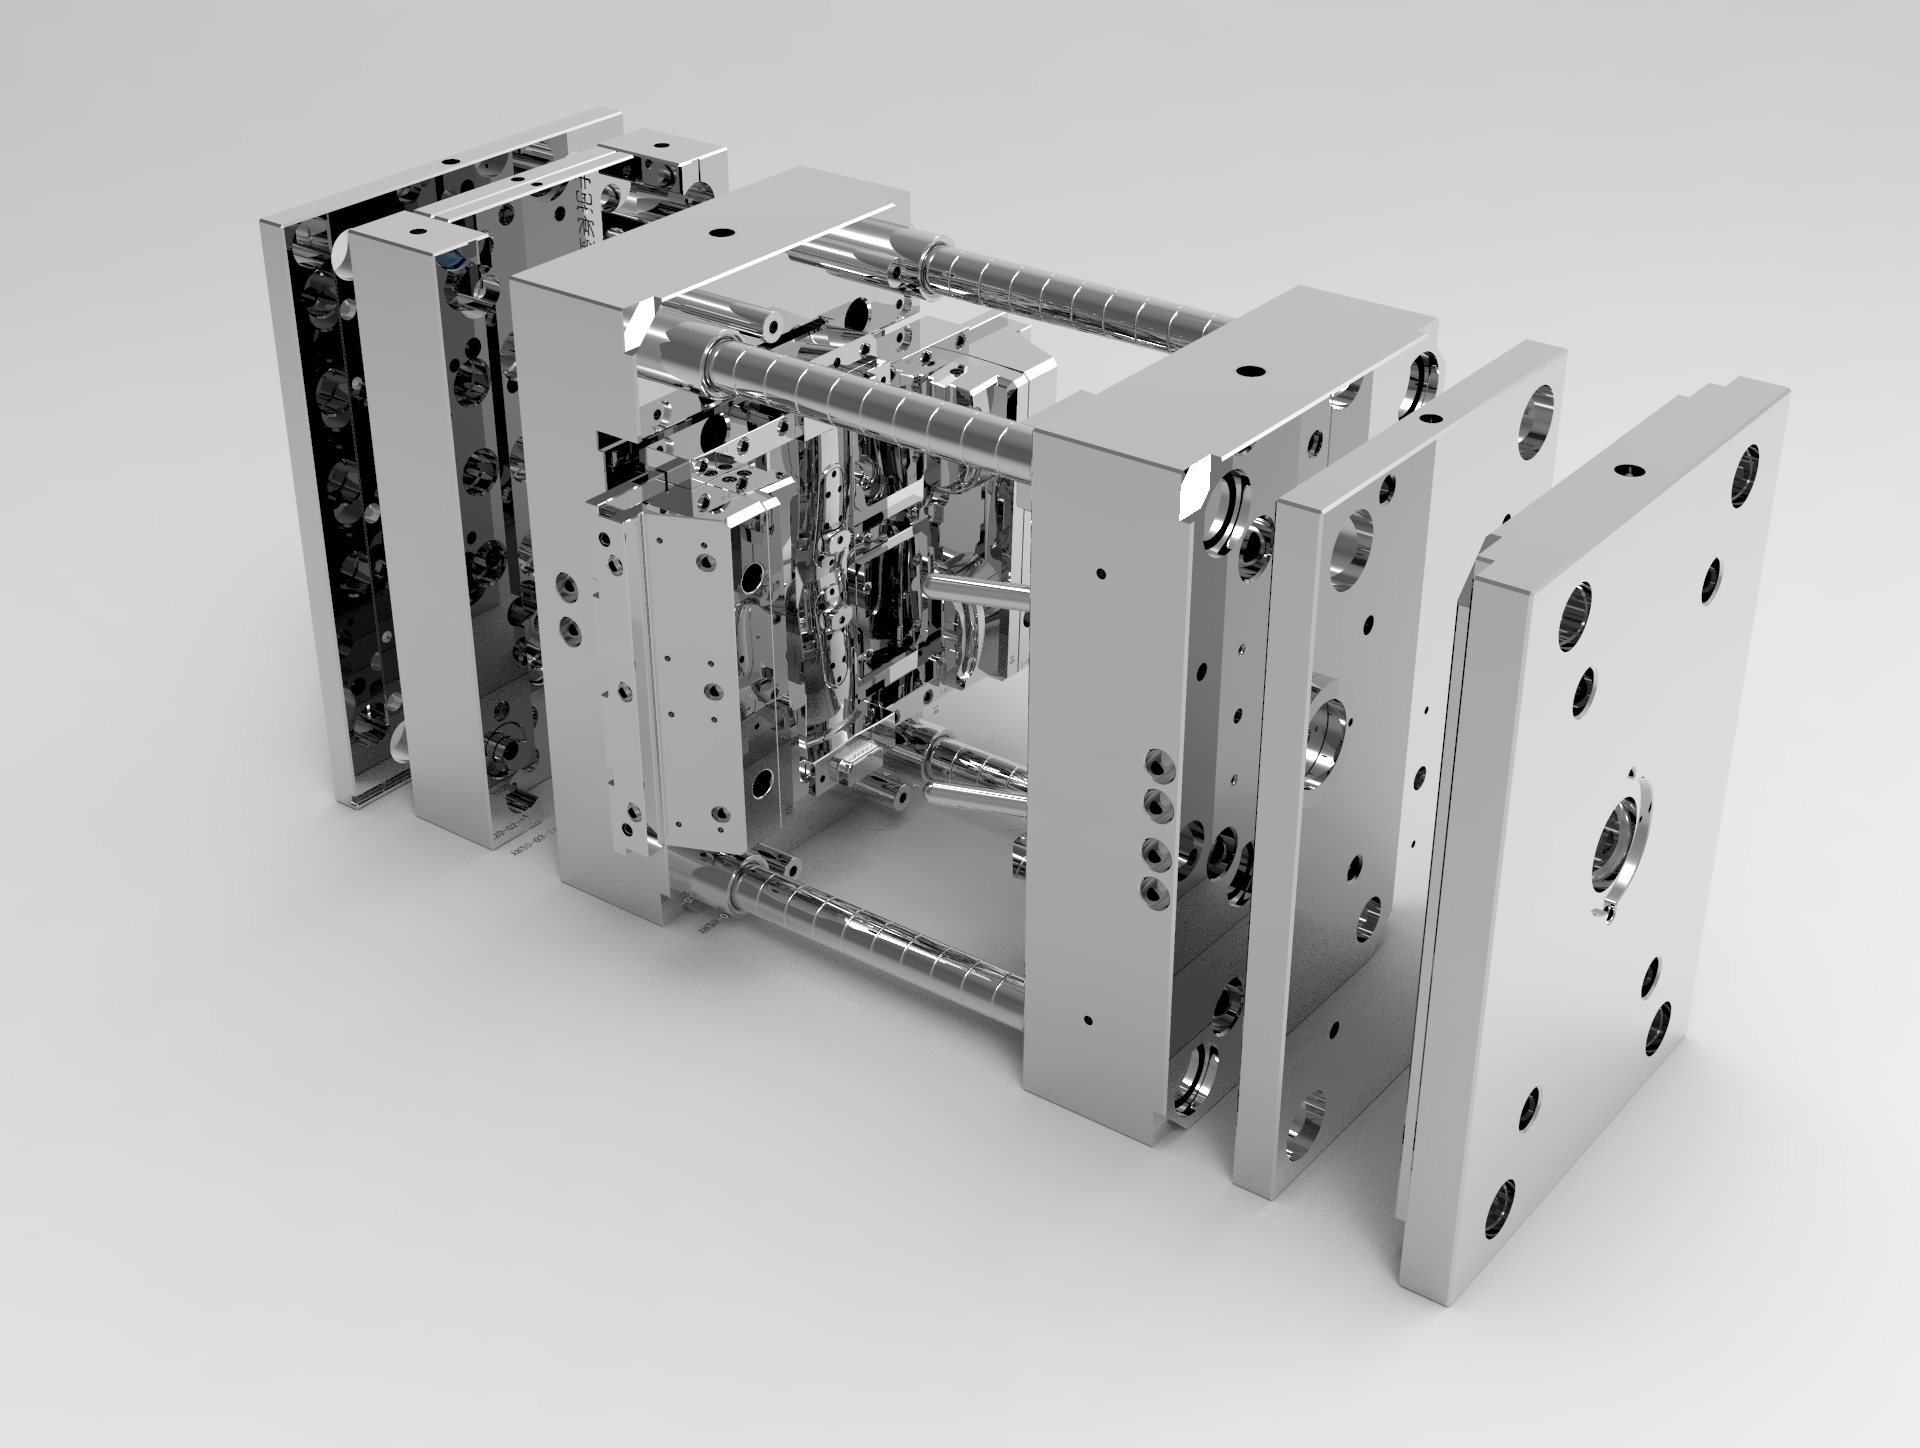
In daily mold engineering work, the first thing to get right is the relationship between the mold base and the insert layout. A typical two-plate mold for a medium-sized part—say, a 300 mm by 200 mm housing—will use a standard 3535 or 4040 mold base, with guide pins set at 50 mm from the parting line. The key is to keep the cavity insert thickness at least 25 mm from the nearest cooling channel, and the channel diameter should be 8 mm to 10 mm, spaced 3 to 5 times the channel diameter apart. If you push the cooling lines too close to the cavity surface, you risk localized hardening and sink marks. On the ejection side, always plan for at least 6 mm of ejector pad travel beyond the deepest undercut, and use a 3-degree draft angle on side walls to avoid drag marks. These numbers come from real trials, not theoretical charts—they hold up across ABS, PC/ABS, and even glass-filled nylon.
Process-wise, the melt temperature and injection speed are the two variables that make or break a mold. For a standard ABS part with a wall thickness of 2.5 mm, set the barrel temperature at 220°C to 240°C, with a mold surface temperature of 50°C to 60°C. The injection speed should be around 40 mm/s for the first 80% of the cavity fill, then drop to 15 mm/s for the last 20% to reduce flash and trapped air. Holding pressure should be 60% to 70% of the injection pressure, and hold time should be calculated from the gate freeze time—for a 1.2 mm gate, that is roughly 8 seconds. One critical point: never rely on the machine’s default cooling time. Measure the part’s ejection temperature with a thermal camera; if it exceeds 70°C on the thickest section, increase cooling time by 20% or redesign the baffle cooling in that area. This is where most warpage issues actually originate, not in the injection phase.
Another often-overlooked area is venting. A cavity with a projected area of 500 cm² needs at least six vent slots, each 0.03 mm deep and 10 mm wide, placed at the end of flow and along the parting line. If you see burn marks or short shots, check the vent depth first—most engineers set it too shallow. For high-speed molding of thin-wall parts, consider adding a vacuum venting system, but only if the mold has a hardened insert (HRC 52 or above) to avoid edge wear. Finally, always run a mold flow simulation before cutting steel, but validate it against a real shot on a trial press. The simulation will give you a fill time of 1.8 seconds, but the actual machine may need 2.2 seconds due to hydraulic response lag—so build a 15% safety margin into your process window. For more detailed mold sourcing and troubleshooting guides, visit MoldWorld at www.moldw.com.