Plastic Mold Core and Cavity Structure Analysis and Overmolding Process Essentials
August 09, 2026
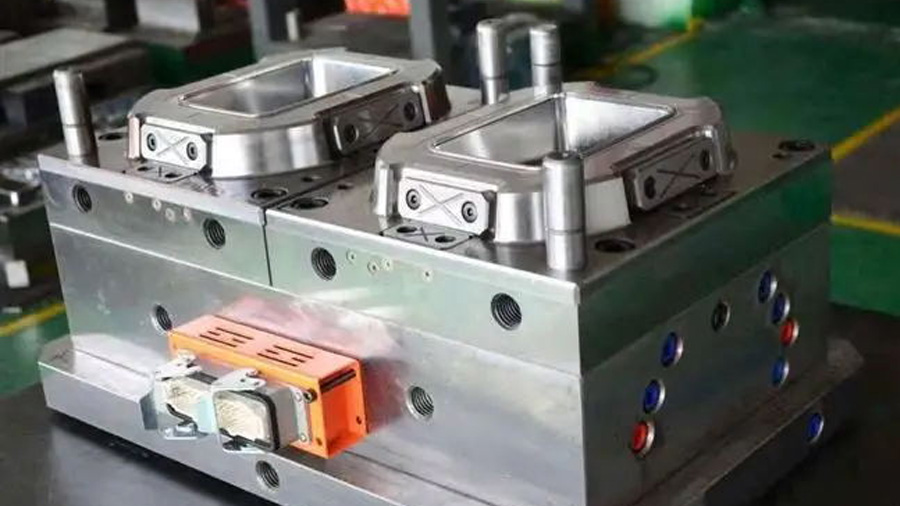
In any plastic injection mold, the fixed half (cavity side) and the moving half (core side) serve fundamentally different roles, and understanding this is the first step to avoiding costly design errors. The fixed half is typically where the sprue bushing and the main runner system reside, and it carries the cavity that forms the external surface of the part. The moving half, on the other hand, holds the core, which shapes the internal geometry, and is also where the ejection system—ejector pins, sleeves, or lifters—is mounted. This is not just a matter of convention; it directly affects draft angles, surface finish requirements, and where you can safely place side actions. For example, a part with deep internal ribs demands that the core side have sufficient draft (at least 0.5° per side, but often 1° for textured surfaces) to allow clean ejection without scuffing. If you put that detail on the fixed half, you will need a complex ejector system on that side, which drives up tool cost and cycle time.
When it comes to overmolding—also called two-shot molding or co-injection—the structural layout becomes even more critical because you are dealing with two different materials, often with different shrinkage rates. The first shot (substrate) is usually a rigid plastic like ABS or PC, and the second shot (overmold) is a softer TPE or TPU. The key is to ensure that the substrate is fully cured and properly positioned before the second injection. In practice, this means the mold must be designed with a rotating or sliding core plate, or a dedicated two-shot machine with a turntable. The hardness of the overmold material should be in the 40–70 Shore A range for most consumer products; anything softer risks tearing during demolding, and anything harder may not provide the desired tactile feel. Also, the bond between the two materials is largely mechanical, so you need to add undercuts or a roughened surface on the substrate (Ra 1.6–3.2 µm) in the bonding area. Without that, delamination will occur under peel stress, a common field failure.
From a production standpoint, the melt temperature of the overmold material must be kept within the manufacturer’s recommended window—typically 20–30°C above its melting point—and the substrate surface temperature should be pre-heated to at least 60°C to promote adhesion. Injection pressure for the second shot should be 20–30% lower than the first shot to avoid flashing, especially if the substrate has thin walls. Cycle time will inevitably increase by 15–25% compared to a single-shot mold, so factor that into your cost estimates. One practical tip: always verify the venting on the core side, because trapped gas between the two shots is a leading cause of voids and weak bonds. If you are sourcing a mold for an overmolded part, ask your supplier for a detailed flow simulation of both shots, not just the final assembly. For more technical guidance and vetted mold suppliers, visit MoldWorld at www.moldw.com—they have a solid directory of shops that specialize in two-shot tooling.