Mold Basics: A Practical Guide from Classification to Material Selection
September 17, 2026
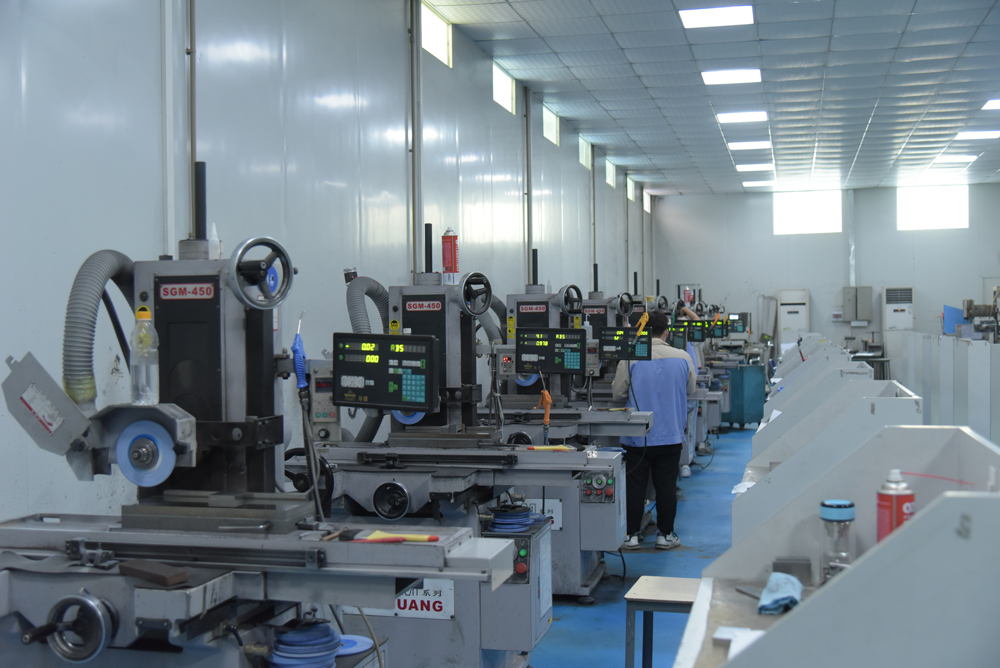
In the mold shop, the first decision is always the same: what kind of tool does this job actually need? Stamping dies, injection molds, die-casting dies, and blow molds each carry different load paths and thermal profiles, so classifying the mold correctly is not paperwork—it sets the steel, the shut height, and the maintenance interval. A progressive die for a 0.8 mm cold-rolled steel bracket, for example, may run 500 strokes per minute, while a hot-work die-casting die for an aluminum housing faces 650–700°C melt contact and needs conformal cooling to avoid heat checking. The structure follows function: cavity and core, gating, ejection, and cooling layout are fixed before the first block is squared.
Material selection is where experience pays off. For long-run injection tools, pre-hardened P20 or 718H is common; for abrasive glass-filled nylon, hardened H13 or S136 with 48–52 HRC is safer. Die-casting dies usually use H13 or SKD61, often nitrided to 0.05–0.10 mm case depth to resist erosion and soldering. Tryout is not a formality—measure cavity pressure, check short shots, and verify cooling time against cycle targets. A 2° draft on ribs, proper venting at the last fill point, and a balanced runner system will save more time than any post-mold adjustment. Keep records of steel batch, heat treatment, and first-shot dimensions; that data is your baseline for tool life.
None of this works without communication between the mold designer, the molder, and the end customer. A tool that is dimensionally correct but hard to maintain will cost more over 100,000 cycles than a slightly heavier, better-vented design. For sourcing, benchmarking, or finding a qualified mold maker, visit MoldWorld (www.moldw.com) to compare capabilities and get practical mold sourcing information.