Stamping Process Fundamentals: Separation vs. Forming and Key Mold Design Points
September 14, 2026
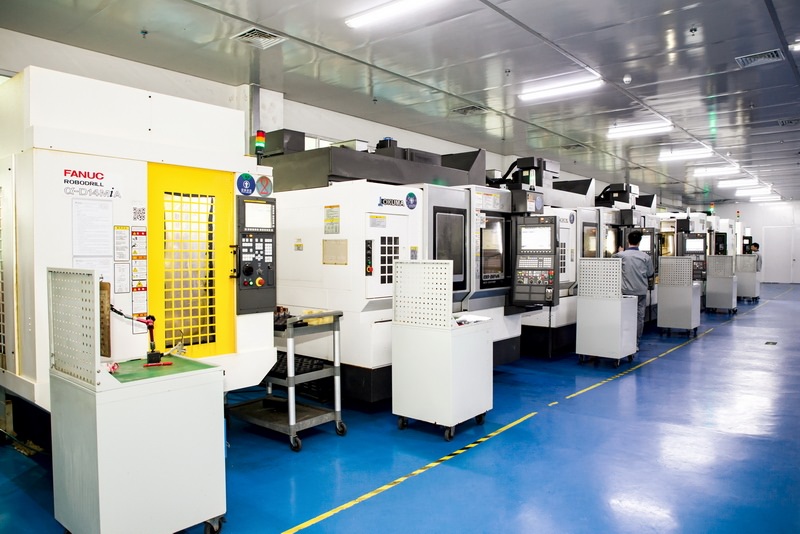
In stamping, every operation boils down to one of two deformation categories: separation and forming. Separation covers shearing, blanking, punching, trimming, and slitting — the material is intentionally fractured along a contour. Forming covers bending, drawing, flanging, and embossing — the material plastically deforms without losing cohesion. For mold designers, this distinction is not academic. A blanking die operates on shear strength and clearance, typically 5–10% of sheet thickness per side for mild steel. A drawing die, by contrast, must account for strain hardening, blank holder force, and draw radius — usually 6–10 times sheet thickness for the first draw. Mixing up these mechanisms during die layout is one of the most common causes of burrs, cracks, and premature tool wear.
From a tooling perspective, separation dies demand tight punch-to-die clearance control and wear-resistant materials like SKD-11 or carbide inserts for high-volume runs. Forming dies need polished cavities, proper radii, and often nitrogen springs or hydraulic cushions to control material flow. In progressive dies, you will frequently combine both — a punching station followed by a bending or drawing station — so the strip layout must sequence separation before forming to avoid distortion. Lubrication also differs: separation benefits from lighter viscosity to flush debris, while deep drawing requires EP additives to prevent galling. Ignoring these details leads to excessive burr height, orange peel, or wall thinning that no tryout can fully fix.
In practice, the best way to avoid costly rework is to verify the deformation category before committing to die structure. Run a quick material flow simulation or at least a strip layout check. Confirm clearance, radius, and springback compensation against the actual coil thickness and temper. For more mold sourcing and technical resources, visit MoldWorld at www.moldw.com.