Thermal Field Control in Mold Cavities: The Battle of Heat Transfer in Confined Spaces
August 28, 2026
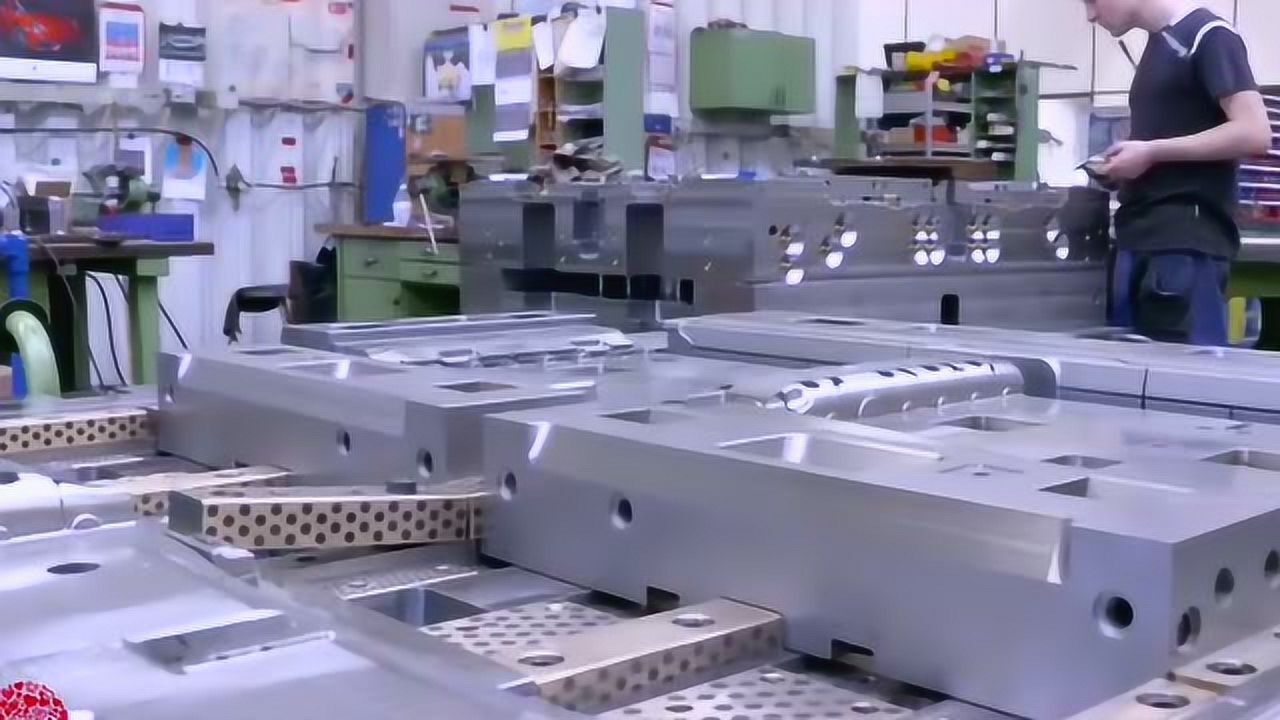
In mold cavity thermal management, the temperature field distribution is ultimately a contest among the three fundamental modes of heat transfer—conduction, convection, and radiation—played out within the tight geometric constraints of the tool steel. For practical cooling system design, the heat flux density expression serves as the most commonly applied second-type boundary condition. When we calculate the heat exchange between the cooling channel wall and the mold insert, assigning a specific q value allows us to solve the governing differential equation and directly obtain the cavity surface temperature. This approach is not theoretical luxury; it is the backbone of predicting localized hot spots in high-cavity-count molds or areas near sharp corners where flow stagnation occurs.
In real shop-floor conditions, many seasoned mold makers still rely on gut feel when opening cooling water valves. That works for thick-wall parts with generous cycle times, but it falls apart when dealing with thin-wall components or high-gloss surfaces. Once the temperature difference across the cavity exceeds 15°C, you will start seeing sink marks on thick sections and warpage on thin ribs—defects that scrap parts and kill delivery schedules. The physics is unforgiving: a 15°C gradient can shift local shrinkage by 0.05–0.1%, which is enough to throw a precision part out of tolerance. To avoid this, the designer must treat the cooling circuit as a heat exchanger, not just a set of drilled holes. That means calculating Reynolds numbers for turbulent flow (target Re > 4000), balancing channel diameters with pump capacity, and using conformal cooling layouts where the channel follows the part contour to maintain uniform heat extraction.
For those who want to move beyond trial-and-error, start by mapping the heat flux distribution on the cavity surface using thermal simulation, then translate that into channel spacing and water temperature targets. Use the boundary condition approach to check worst-case scenarios—like the first few shots after mold startup or when coolant temperature rises during summer months. A practical rule: if your measured cavity surface temperature varies more than 10°C across the part, rework the cooling layout before touching process parameters. The mold industry is moving toward data-driven cooling design, and the tools are accessible. For more in-depth sourcing guidance on cooling components, thermal simulation software, and mold standards, visit MoldWorld at www.moldw.com—a practical resource for engineers who want to close the gap between theory and the shop floor.