Stamping Process Logic: The Battle Between Force and Form
August 04, 2026
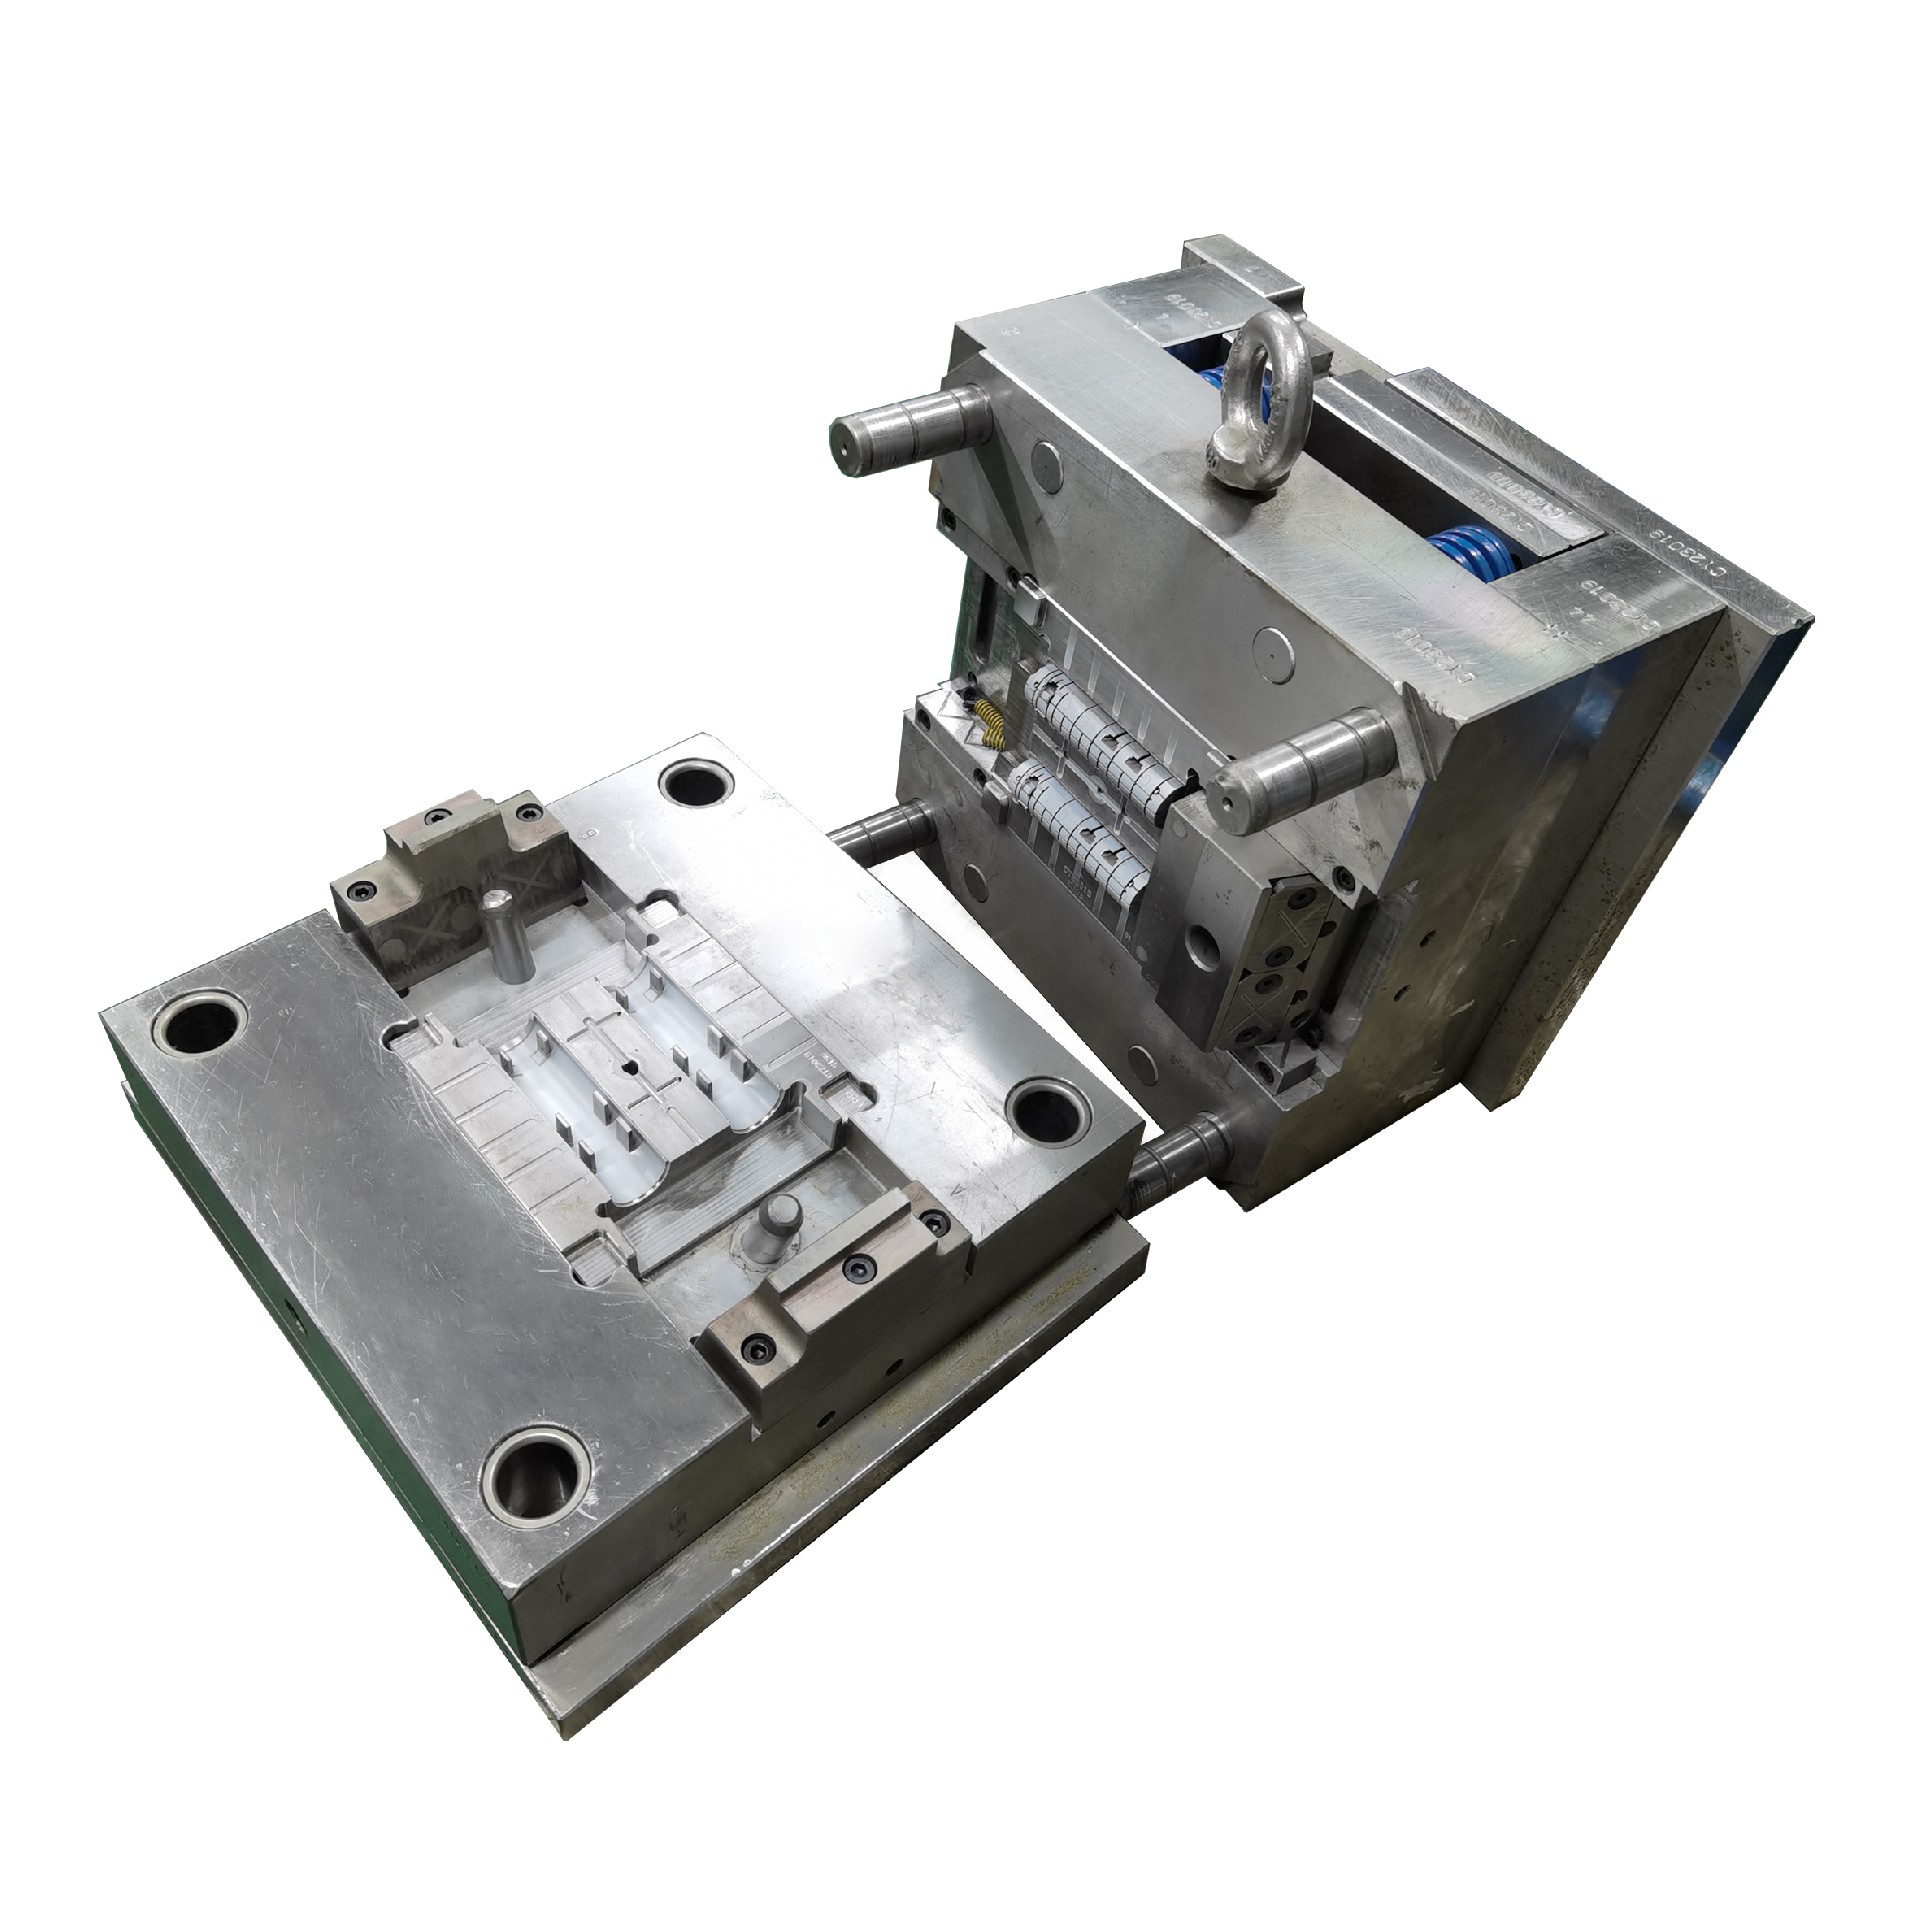
At its core, stamping is a contest between force and geometry. The press delivers tonnage, the die dictates the deformation path, and the sheet metal, caught between the two, undergoes either controlled plastic flow or fracture separation. The four basic operations—blanking, bending, deep drawing, and forming—look straightforward on paper, but each one is loaded with material mechanics and tribology. Take blanking: if the punch-to-die clearance is set at 5% to 10% of the sheet thickness, the burnish zone on the cut edge typically holds above one-third of the total thickness. Push the clearance wider, and the tear zone expands, burr height climbs past spec, and your deburring operation turns into an unexpected cost center. In production, that means more secondary work, more tool wear, and more rejected parts—none of which show up on the initial quote.
Deep drawing is where the real finesse comes in, and it all hinges on blank holder force. Too little force and the flange wrinkles; too much and the wall splits. The conventional rule of thumb is to set the blank holder force at 0.8 to 1.2 times the sheet thickness, but that’s only a starting point. You have to factor in the material’s yield strength, the lubrication regime, and the actual draw ratio. For high-strength steels, that range shifts lower because the material’s resistance to thinning is stiffer. For aluminum, you often need a tighter window and better lubricant control. In practice, we run a quick forming simulation or a tryout with strain gauges on the blank holder to dial in the pressure before committing to production tooling. Getting this wrong on a high-volume job means scrapping thousands of parts or reworking the die—both are expensive lessons.
What this boils down to is that stamping is not just about buying a press with enough tonnage. It’s about understanding how the die geometry, clearance, and force interact with the material’s flow stress and friction behavior. A well-designed die with proper clearance and controlled blank holder force will produce consistent parts with predictable edge quality and dimensional stability. That consistency is what keeps downstream assembly lines running and what separates a profitable stamping job from a loss leader. If you’re sourcing stamping dies or trying to improve an existing process, start by auditing your clearance and blank holder settings—they’re the cheapest fixes with the biggest payoff. For more practical mold sourcing and process optimization tips, visit MoldWorld at www.moldw.com.